
Note that before activating SSO, it is important that you check the email addresses associated with user accounts in CtrlPrint and ensure that they are identical to the UPNs used by your IDP. Users will not be able to log in if these do not match. Note that the email addresses are case sensitive and if needed, a user’s email address can be changed in CtrlPrint by an Administrator.
To Activate SSO
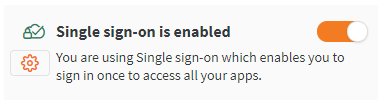
Single sign-on (SSO) is enabled at the company level by an Administrator. You can check who your Administrator is by following this article: Who is My CtrlPrint Administrator?
- Log in as an Administrator. Click on the company name where you wish to activate SSO.
- Use the toggle option found on the right side of the page to start the setup process.

- Use the necessary information provided to properly set up your IDP (identity provider). We currently only support SAML 2.0.

- Once your IDP is configured click Continue to provide the necessary metadata for CtrlPrint. This can be done with either a link to the file if it is hosted online (recommended) or by uploading it to our server.

- After adding your metadata file click on the Verify SSO… button which ensures that your provided information is correct and compatible.

- Once your metadata has been verified click Continue.

- Check the I agree option and click the Activate button.

- SSO will now be active for all users in the company. Once activated all users within the company will receive an email informing them of the change in the login process. The next time they log in, they will be required to do so using the company’s chosen SSO solution.
- If you need to update the metadata provided, please see this page for more information.