
To support your initial setup of Integrate, we've developed a detailed step-by-step guide. This guide is designed to provide you with all the necessary information to ensure a smooth process.
Step-By-Step Quick Guide:
- Prepare the Excel File with Named Ranges
- Prepare the InDesign File
- Activate Integrate
- Set Up Your Integrate Settings (number, date and time format)
- Add the InDesign Document & Excel Data Source to CtrlPrint
- Set Up Permissions
- Insert the Table/Single-cell Text from Your Data Source into Your Document
- Handling Styles
- Upload a New Version of the Data Source to CtrlPrint
- Continue to Update Your Project
1. Prepare the Excel File with Named Ranges
For tables:
- Open your Excel file. Select a single cell or range of cells that you want to make available in Integrate. Go to the "Formulas" tab in the Excel ribbon.
- Click on "Define Name".
- In the "Define Name" dialog box, give your range a meaningful name, preferably something that describes the data it contains. Click "OK".
Remember that the formatting of your numbers and cells in Excel will directly influence how your tables will appear in the designed report in InDesign.

Single cell:
If you create a named range consisting of only a single cell, Integrate will treat it as text instead of a table when inserted into your report. This is useful for inserting individual values, titles, or short pieces of text directly into your chapters.
You can read more about it here.
2. Prepare the InDesign File
The InDesign file can be prepared at the same time as the Excel file. The template should contain areas for tables with headings, but without the table itself, which will be linked from the Excel file later.
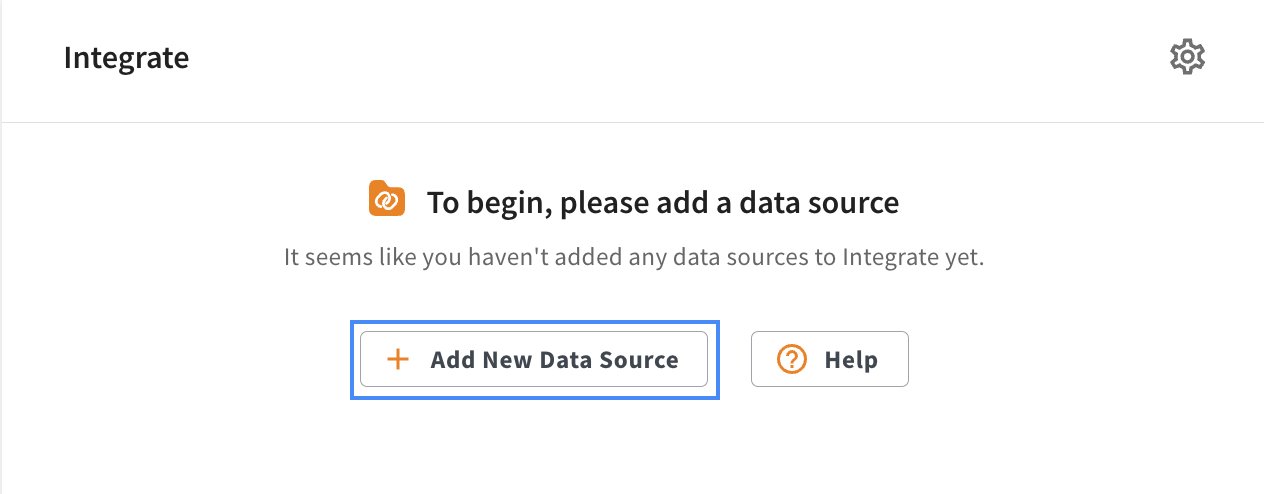
3. Activate Integrate

For more information, please see this page.
4. Set Up Your Integrate Settings
Define the number, date and time format you want to use in the report in your Integrate settings.

For more information, please see this page.
5. Add the InDesign & Excel Data Source to CtrlPrint
You can find more information about how to add InDesign Document to Chapter on the Server here.
You can find more information about how to add Excel data source and version control here.
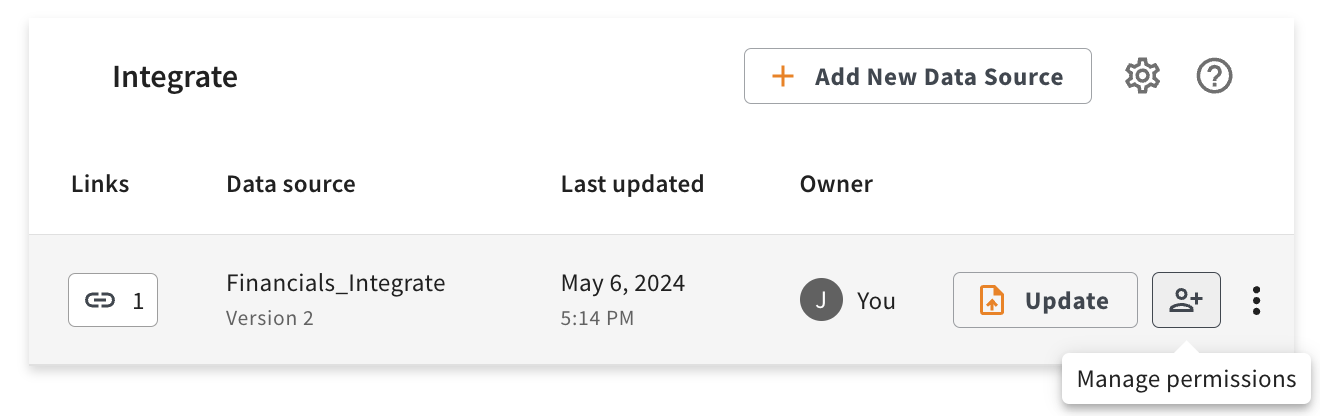
6. Set Up Permissions
Set up the permissions for your company's users to update the Excel and manage the data. These settings are managed by an Administrator or owner of the Excel file. You can set up permissions here and find more information about the different roles here.
7. Perform the Initial Insertion of the Table/Single-cell Text to the Document
NOTE: You can not insert table and single-cell text inside another table. You need to select an active insertion point (the blinking cursor in a text document or a text field where you type) in a text frame to insert table and single-cell text via Integrate.
Open the relevant chapter in InDesign or InCopy where you want to use the data source, navigate to the CtrlPrint menu and select "Open CtrlPrint Integrate".

Select Text Frame: Select an existing text frame where you want to place the table or text from your Excel file, or create a new text frame where you want to place it. Please note that data from Integrate can only place data into an existing frame with an active insertion point and will not create a new frame.
Locate Data Source: Access the CtrlPrint Integrate panel, select the data source you want to use and insert table/single-cell text.


For more information about how to insert and refresh data, please see this page.
8. Handling Styles
When the table is first inserted, it is unformatted (example image of unformatted table below) so it is essential to format/style it according to your design preferences.

InDesign users can set up Table/Cell styles for InCopy users to apply it. The styling needs to be done for the first time when you insert the tables (example image of a table after applying styles below).

The next time you refresh your data, the tables will retain the styles.
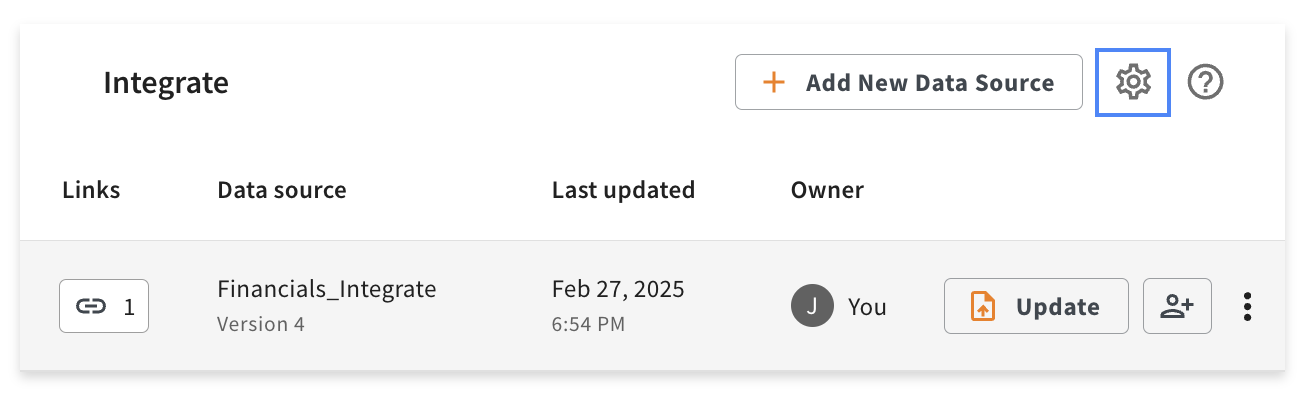
9. Upload a New Version of Data Source to CtrlPrint
When you get new updated data figures in Excel, upload a new version to CtrlPrint. All figures and tables in each chapter can then be updated simultaneously.
Upload New Version:

Update Data:

10. Continue Updating Your Project
Continue to produce your report and update table/single-cell text as necessary with updated information from your Excel file (see step 9).